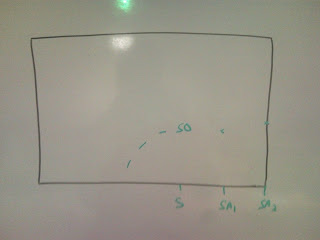
Mark the ankle crist as "S".
2. From the "S", draw 3 lines vertically, horizontally and obliquely then mark as "SV", "SH"
and "SO"
and "SO"
3. From the "S", mark every 5cm as "SA" (towards knee) and "SB" (towards toes)
4. Take the measurement at every point marked except "S". Every measurement multiply
with 0.4!
with 0.4!
5. Start tracing, and from the "SA" the "SH". ("SH" length from the "S", it somewhere
behind the "SO". p/s : sorry about that)
behind the "SO". p/s : sorry about that)
Then draw 3 point of of "SO" length from the "S", the connect the points.
6. "SV" position depends where it touch the "SO" line.
 |
| The distance between "S" and "SV" might be more or less than 5 cm. Usually more than 5 cm for men sizes. |
After that continue with the "SB".
7. Connect all the dots of the tracing and cut the paper out.
(It should look like fish, somehow)
(It should look like fish, somehow)
 |
| Don't forget to put date of the measurement, location and client's name. Best to marked which area is "SA" and "SB" for your reference during the sewing. The oblique line is "SO" line from the "S". |
*********************************************************************************


No comments:
Post a Comment